

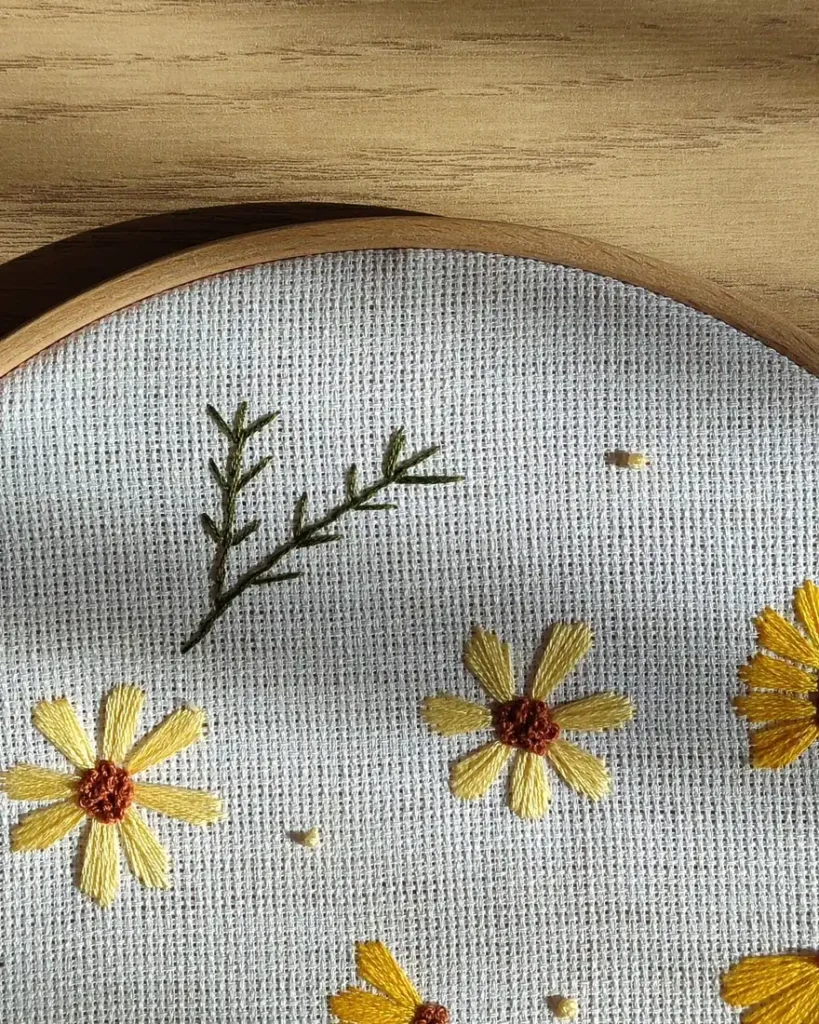
Satin stitch is the stitch that makes a flower look finished: a petal filled with smooth, shiny thread that catches the light. It’s also the stitch most likely to disappoint the first few times, with gaps between stitches, wobbly edges and threads that sit loose on the surface.
The good news is that almost every satin stitch problem comes from a handful of causes, and they’re all fixable. This guide covers how to prepare a petal, the order to stitch it in, and what to do when it doesn’t look right.
What you’ll need
- Fabric hooped drum-tight (cotton, linen or a cotton-linen blend)
- Six-strand floss, separated into 1 or 2 strands
- A crewel needle in size 9 or 10 for 1 strand, 7 or 8 for 2 strands
- A water-soluble pen or pencil for marking stitch angles
- Optional: a laying tool, or a large blunt needle to smooth the strands
Why satin stitch goes wrong
Satin stitch is just straight stitches laid side by side to fill a shape. Because every stitch is visible from edge to edge, small inconsistencies show: one stitch a little looser than its neighbors, strands twisted together, a needle coming up a hair outside the line. The fixes below all aim at the same thing, which is keeping each stitch the same as the last.
Step 1: Keep petals small enough to satin stitch
Long satin stitches look lovely the day you finish them and then start to snag and sag. As a rule, keep individual stitches to about 1/4 to 3/8 inch (6 to 10 mm). If a petal is wider than that in the direction you’re stitching, either turn the stitch angle so the stitches run across the narrow part, or split the petal down the middle with a pencil line and fill each half separately, like the two sides of a leaf.
For large flowers, long and short stitch is usually a better choice than satin stitch, because it’s designed for big areas and blends colors as it goes.
Step 2: Outline the edge first
Work a line of split stitch or back stitch around the outside of the petal, just inside the drawn line. Then bring your satin stitches up and down just outside that outline, so each stitch covers it.
The outline gives the needle a firm edge to tuck against, which makes the edge of the petal crisp instead of ragged. It also lifts the satin stitches slightly so they look padded and smooth. For a little more height, you can fill the inside of the petal with a few rows of running stitch or split stitch before you start, all running in a different direction from the satin stitch on top.
Step 3: Mark the stitch angle
Draw two or three light guide lines across the petal showing the direction your stitches will run. On a flower, angle them so they point toward the flower’s center, the way real petals are veined. On a leaf, angle them from the center vein out toward the edge.
Without guide lines, satin stitches tend to drift as you work, so the last stitches end up at a different angle from the first ones. A couple of pencil lines prevents that.
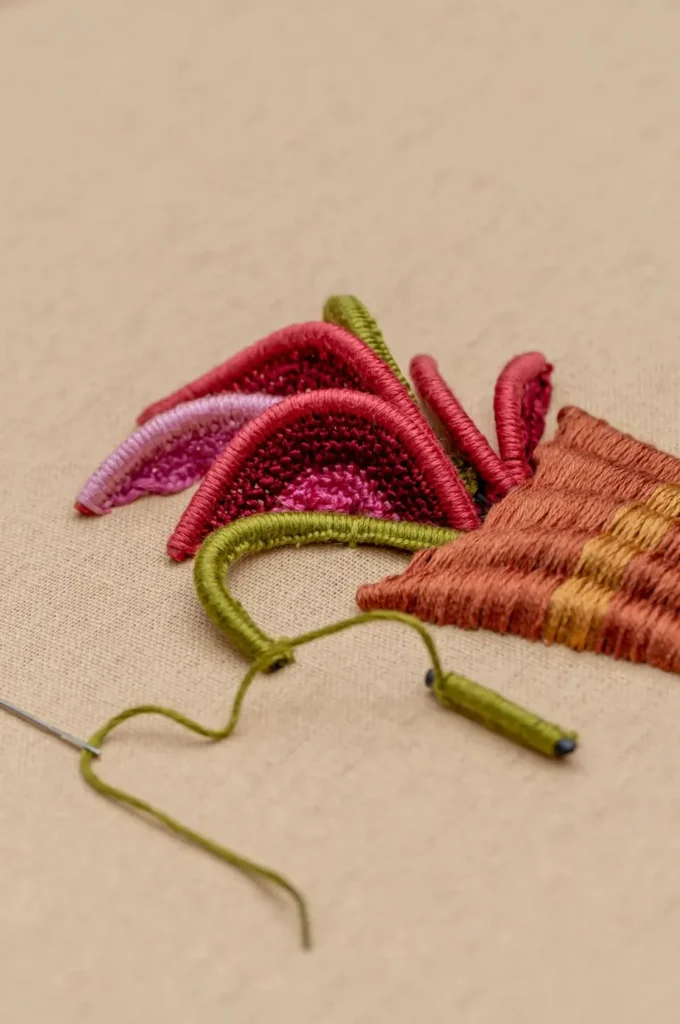
Step 4: Start in the middle
Bring the needle up at the widest point of the petal and work your first stitch right across it along one of your guide lines. Then work toward one end of the petal, stitch by stitch, laying each stitch snugly against the last without overlapping it. When you reach the tip, go back to the middle and fill the other half.
Starting in the middle sets the angle where it matters most and stops the whole fill from slanting further and further as you go.
Step 5: Keep the strands flat and the tension even
Two strands laid flat side by side reflect light as one smooth ribbon. Two strands twisted around each other look lumpy. As you pull each stitch through, run the thread over a laying tool or the shaft of a spare needle, or simply over your finger, so the strands settle flat before the stitch tightens.
Let the needle dangle every few stitches so the thread can untwist. Pull each stitch until it lies flat on the fabric and stop there: too tight and the fabric puckers around the petal, too loose and the stitch lifts away from its neighbors.
Step 6: Use the same holes at the edges
Bring the needle up on the same side of the petal every time, and go down on the opposite side, so all your stitches travel in the same direction across the back. This puts more thread on the back than some people expect, but it gives the smoothest front. Come up right next to the previous stitch, close enough to share the edge but not in the same hole, or the stitches can pull apart.
Troubleshooting
I can see fabric between the stitches
The stitches are too far apart, or too few strands for the fabric. Place each new stitch so it touches the last one, and add a strand if the fabric weave is coarse. Small gaps can be filled afterwards by working a stitch in between, at the same angle.
The edge of the petal looks jagged
Work a split stitch outline first (Step 2) and make sure each stitch goes over it, not into it. Stitching in good light and coming up exactly on the line makes a bigger difference than any special technique.
The stitches look loose and catch on things
They’re too long. Split the area into smaller sections or switch to long and short stitch. On clothes, keep satin stitches even shorter, because they’ll be rubbed and washed.
The fabric puckers around the filled shape
Satin stitch pulls in, especially on soft fabric. Check the fabric is drum-tight in the hoop, ease off the tension slightly, and use a stabilizer behind thin or stretchy fabric. My guide on why embroidery puckers covers this in more detail.
FAQ
How many strands should I use for satin stitch?
One or two strands gives the smoothest result on small petals. Three or more fills faster but is harder to keep flat. If you’re new to it, start with two.
Should satin stitch be padded?
It doesn’t have to be, but a split stitch outline and a few rows of padding underneath make a noticeable difference, especially on small, rounded petals.
Is satin stitch the best choice for every petal?
No. Lazy daisy stitch is quicker for small, loose petals and French knots suit tiny clusters. My comparison of flower embroidery stitches helps you choose, and the free floral patterns roundup has designs to practice on.
