

Bead embroidery adds sparkle and texture that thread alone can’t give: a scatter of seed beads in a flower center, a line of tiny glass beads tracing a stem, or a fully beaded motif on a denim jacket. It’s slower than thread embroidery, but the basics are simple, and once you know what to buy, it’s mostly patience.
This guide explains the supplies (bead sizes, needles and thread) and the three stitches you need to start.
What you’ll need
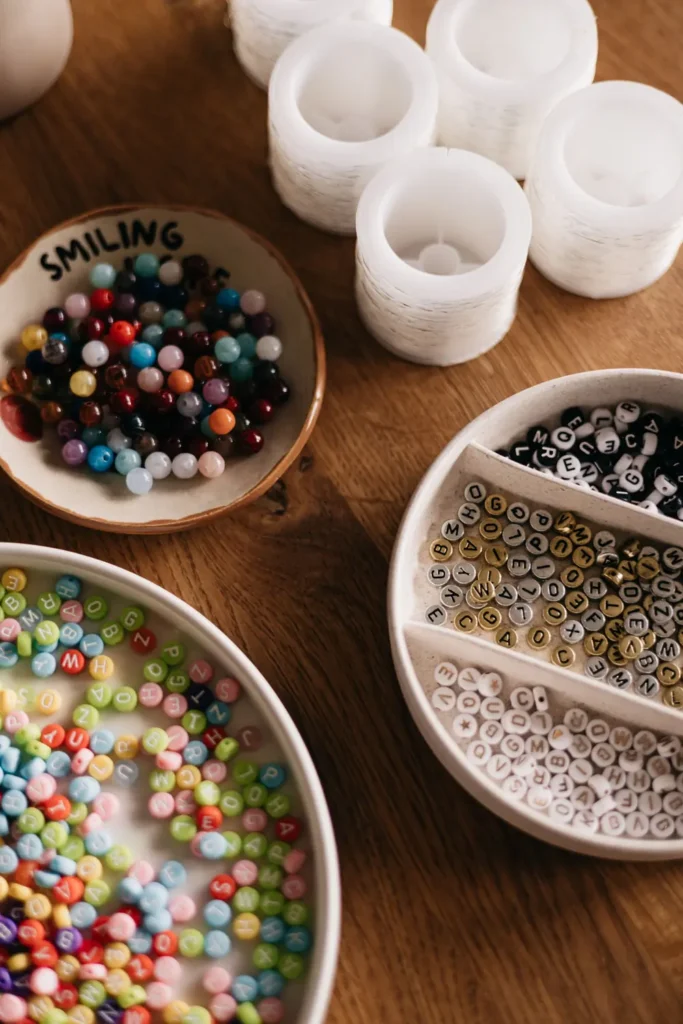
- Seed beads in size 11/0 (and a few 8/0 for bolder accents)
- Beading needles, size 10 or 11 (long and thin, with a very small eye)
- Beading thread: nylon or polyester (sold as beading thread, for example in a size B or D), in a color close to your fabric
- Tightly woven fabric with felt or stabilizer behind it
- An embroidery hoop
- A small dish or a bead mat to keep beads from rolling
- Optional: thread conditioner
Bead sizes, explained
Seed bead sizes use a slightly confusing system: the bigger the number, the smaller the bead. The size is written with a slash, like 11/0 (“eleven aught”).
| Size | Approx. diameter | Good for |
|---|---|---|
| 15/0 | about 1.5 mm | Very fine details, tiny outlines |
| 11/0 | about 2 mm | Most bead embroidery: lines, fills, outlines |
| 8/0 | about 3 mm | Bolder lines, accents, flower centers |
| 6/0 | about 4 mm | Big accents and focal points |
Exact sizes vary between brands and between round and cylinder-shaped beads, so it helps to buy colors for one project from the same brand. Size 11/0 is the one to start with. It’s small enough for detail and big enough to handle.
Needles and thread
Ordinary embroidery needles are usually too thick to pass through seed beads. Beading needles are long, thin and flexible with a small eye. A size 10 or 11 suits 11/0 beads; go finer (size 12 or 13) for 15/0.
For thread, use a strong nylon or polyester beading thread. Glass beads can have sharp edges that wear through cotton floss over time. Choose a thread color that matches the fabric or the beads so it disappears.
Work with a single strand about an arm’s length long, and knot the end. Some beaders double the thread for extra strength on heavier pieces.
Prepare the fabric
Beads add weight, so the fabric needs support. Put a layer of felt or a firm stabilizer behind the fabric. For hoop pieces and clothing, felt or cut-away stabilizer works; for brooches and jewelry, beaders often use a stiff stabilizer that gives a firm base.
Hoop the fabric and backing together, tight. Transfer your design with a water-soluble pen or stabilizer, as described in how to transfer an embroidery pattern.
Stitch 1: Single bead (stop stitch)
Bring the needle up, pick up one bead, and go back down right next to where you came up, about one bead-width away. The bead sits on its side. It’s perfect for scattering beads across a design or filling a flower center.
For a bead that stands upright, pick up a larger bead and then a small seed bead, and go back down through the larger bead only. The small bead acts as a stopper and holds it in place. This is the classic way to attach sequins too.
Stitch 2: Bead back stitch (for lines)
This is the workhorse of bead embroidery and makes smooth, solid lines.
- Come up at the start of the line.
- Pick up 4 beads and slide them down the thread so they lie along the line.
- Go down just after the fourth bead.
- Come back up between the second and third beads, and pass the needle through beads three and four again.
- Pick up the next 4 beads and repeat from step 3.
On tight curves, use groups of 2 (come up between them and go back through the second). On straight lines, groups of 3 or 4 are quicker.
Stitch 3: Couching (for long lines)
Thread a longer string of beads onto the needle, lay them along the line, and go down at the end. Then, with a second needle and thread (or the same thread brought back up), make small stitches over the thread between every two or three beads to hold the string in place. It’s quick for long curves and outlines.
Finishing
Take the thread to the back, make two small knots through the backing, and weave through a few stitches before trimming. Beads are heavier than thread, so secure every end well.
For garments, cover the back with a soft fusible interfacing or a felt patch so the knots don’t rub.
Troubleshooting
The needle won’t go through the bead
The needle is too thick for the bead hole, or the bead has an irregular hole. Try a finer needle; set aside beads with tight holes.
Beads look uneven in a line
Seed beads vary slightly in size. Pick similar-sized beads, and use bead back stitch, going back through previous beads to align them.
The fabric is puckering
Add backing, and don’t pull the thread tight. The beads should sit snugly, not dig into the fabric.
Thread breaks or frays
Bead edges can cut thread. Use a nylon or polyester beading thread, and a thread conditioner if it helps.
Next steps
Once you’ve tried seed beads, the next question is usually what bugle beads and sequins add; see seed beads, bugle beads and sequins. For project ideas, look at beginner bead embroidery ideas or the whole bead embroidery hub.
FAQ
Can I use embroidery floss for bead embroidery?
For light, decorative pieces, one or two strands can work, but beading thread is stronger and lasts longer.
Do I need special fabric?
No, but tightly woven fabric with a backing behind it works best.
Can I wash bead-embroidered clothes?
Gently, by hand, in cool water. Avoid the machine and dryer, since tumbling can crack beads and break thread.
