

Getting the design onto the fabric is the step most beginners rush, and it’s the one that decides whether the finished piece looks crisp. A pale, thin, accurate line is what you’re after. The right method depends mostly on one question: can you see through your fabric?
Below are the five methods worth knowing, which fabrics each one suits, and how to do each one step by step.
Quick picker
- Light, thin fabric (white cotton, pale linen): trace with a light source and a water-soluble pen.
- Dark or thick fabric (denim, black cotton, canvas): water-soluble stabilizer, or white carbon transfer paper.
- Stretchy fabric (T-shirts, hoodies): stick-on water-soluble stabilizer, which also supports the stitches.
- Repeated designs (the same motif on several pieces): an iron-on transfer pen.
- Fabric that can’t get wet: tissue paper or tear-away stabilizer, stitched through and torn away.
Method 1: Tracing with a light source
This is the simplest method and the one to start with on light fabric.
- Print the design at the size you want to stitch it.
- Tape the printout to a sunny window, a light pad, or a tablet showing a blank white screen at full brightness.
- Iron the fabric flat, then tape it over the design, keeping the grain straight.
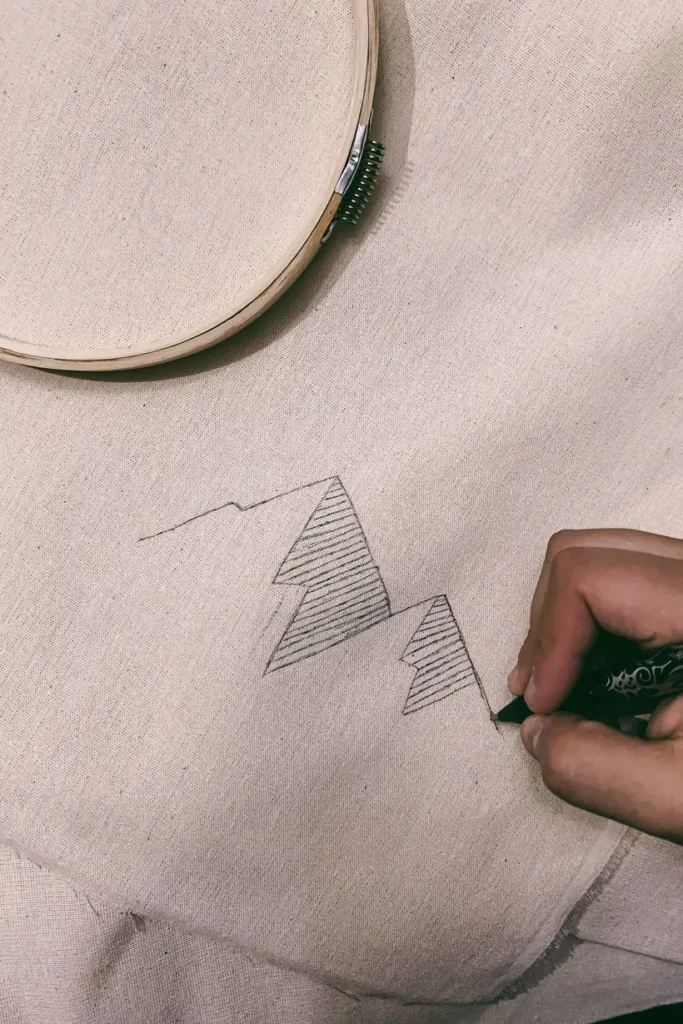
- Trace with a water-soluble fabric pen, using light, short strokes. Fine pencil works too, but it doesn’t wash out as easily, so keep the line very light.
Some people trace with the fabric already in the hoop, flat side down against the paper. That avoids distortion when you hoop up afterwards, which matters most for lettering.
Method 2: Water-soluble stabilizer
This is the method I’d reach for on anything dark, textured or stretchy. Water-soluble stabilizer is a thin film or fabric-like sheet that dissolves in water. Some versions go through a home printer; others you trace onto with a pen.
- Print or trace the design onto the stabilizer. Printable sheets usually have a paper backing; check the packet for which side to print on.
- Peel the backing and stick it to the fabric (adhesive types), or pin and baste it in place (non-adhesive types).
- Hoop the fabric with the stabilizer on top and stitch straight through both layers.
- When you’re done, trim the excess stabilizer close to the stitches and soak the piece in cool to lukewarm water until the rest dissolves. Rinse, then dry flat.
Two things to watch. First, the needle can get slightly sticky with adhesive types, so wipe it now and then. Second, you need to be able to soak the finished piece, so check that your thread colors won’t run. Most good-quality cotton floss is colorfast, but a quick test on a scrap is cheap insurance with deep reds and dark colors.
Method 3: Carbon transfer paper
Dressmaker’s carbon paper, sometimes sold as embroidery transfer paper, comes in white, yellow and blue. White or yellow works on dark fabric where pens don’t show.
- Lay the fabric on a hard, smooth surface and put the carbon paper on top, colored side down.
- Lay the printed design over it and pin or tape everything so it can’t shift.
- Trace the lines firmly with a ballpoint pen or a stylus.
- Lift a corner to check that the line has come through before you remove everything.
Carbon lines can rub off as you handle the hoop, so this method works best for designs you’ll stitch fairly soon. Some brands wash out; others need brushing off. Check the packaging, and test on a scrap if you’re unsure.
Method 4: Iron-on transfer pens and pencils
A heat-transfer pen lets you draw the design once on paper and iron it onto fabric. Remember to trace the design mirrored, because it flips when you iron it. This matters most for words.
The important catch: most iron-on transfer lines are permanent, so your stitches have to cover them completely. That makes them a good fit for bold designs and less good for delicate ones with thin lines.
Method 5: Tissue paper or tear-away
For fabric you can’t wet, such as some wool, a finished garment you don’t want to soak, or a piece with non-colorfast parts, trace the design onto tissue paper or tear-away stabilizer, baste it in place, and stitch through it. Then carefully tear the paper away, using tweezers for the small bits caught under stitches.
Use small, close stitches with this method. Tearing the paper puts some strain on the stitches, and long stitches can loosen.
Troubleshooting
The pen line came back after it dried
Water-soluble ink sometimes reappears if it wasn’t fully rinsed out, especially with a quick dab instead of a soak. Rinse the area properly in cool water and let it dry again. Also avoid heat (a hot iron, a sunny windowsill, a hairdryer) until the lines are fully gone.
The design looks distorted after hooping
The fabric was pulled off-grain while hooping. Check that the straight lines of the weave run straight across the hoop before tightening. For lettering, trace with the fabric already hooped.
I can’t see the lines on dark fabric
Switch to water-soluble stabilizer or white carbon paper. White gel pens and chalk pencils do show, but they rub off quickly and some are hard to remove.
The lines are too thick to cover
Use a fine-tip pen and stitch on the line rather than beside it. If the line is permanent and still shows, add a second pass of stitching, or switch to a slightly thicker thread (more strands) for that part.
Which method should you use?
For a first hoop on white or cream cotton, trace with a light source. For anything wearable, especially dark denim or T-shirts, use water-soluble stabilizer. That’s also covered with more detail in How to embroider on stretchy fabric. And once the design is on, the next step is setting up your hoop so the fabric stays tight while you stitch.
FAQ
Can I use a regular pencil?
A light pencil line works on light fabric, and many stitchers use one. It doesn’t always wash out completely, so keep the line faint and stitch over it rather than beside it.
Do Frixion pens work for embroidery transfers?
Heat-erasable pens disappear with an iron, but the marks can return in the cold, and some leave a faint ghost line on certain fabrics. If you use one, test it first on a scrap of the same fabric.
Where can I find designs to transfer?
The printable beginner patterns post has simple line designs that suit any of these methods.
